How do I customize Witty?
Witty looks into over 40 different diversity dimensions, and for each category, you have the option to turn it on or off.
Step 1: Go to the dashboard
- Open the Witty browser plugin.
- Click on the settings wheel, and you get redirected to the dashboard.
- If necessary, log in to the dashboard.
- Navigate in the left-hand menu to Customize Witty.
Or click on this link to directly access the dashboard.
Step 2: Finetune the categories 🏳️🌈
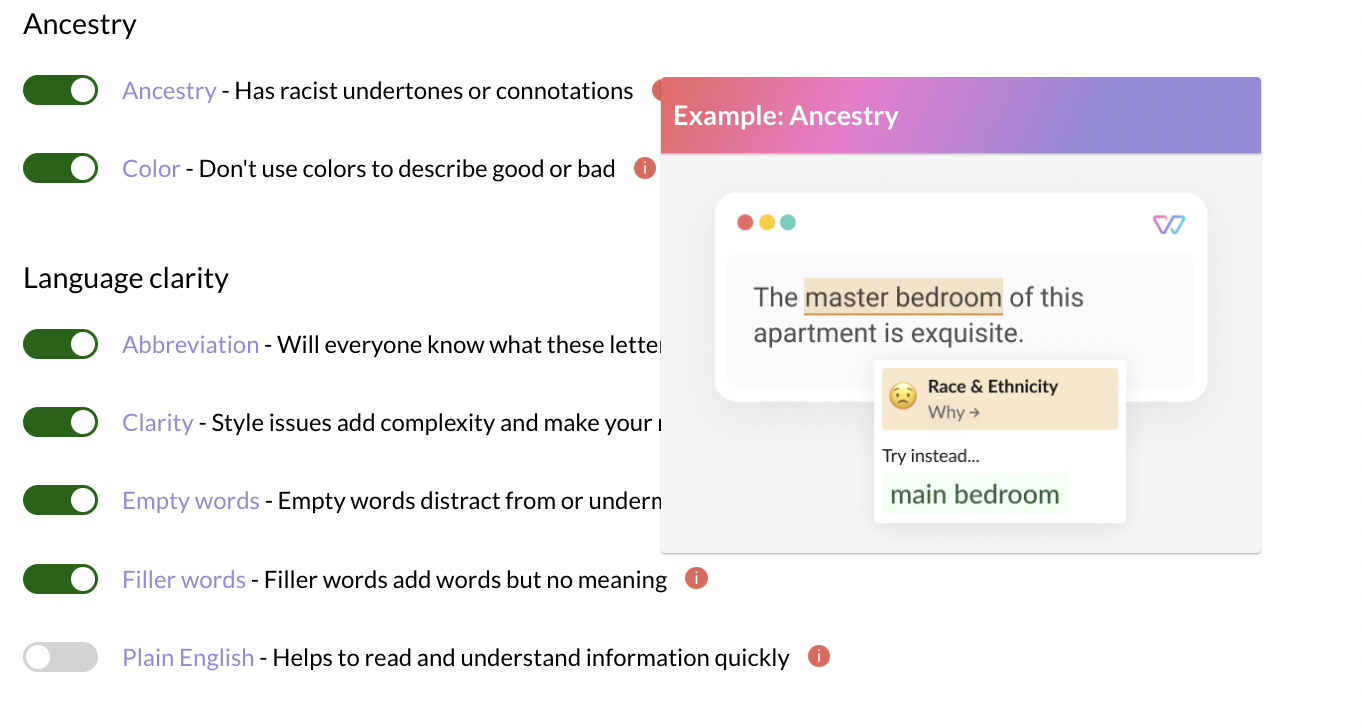
Witty looks into over 40 different diversity dimensions, and for each category, you have the option to turn it on or off.
We provide examples for every category to help you understand the biases they contain. Simply hover over the red icon and check them out. You can also click on the title, e.g. Ancestry, to get a deeper insight into what lies behind this category.
Choose your level
- With the free plan Witty Free, you can choose for each category to switch it on or off. Categories under Slurs + hate speech are always enabled.
- With the paying plan Witty Teams, the administrator can choose from three levels of proficiency for many categories: off, basic, and advanced. The administrator presets the level for each diversity dimension for the team. Each user of the team can go beyond the team's preset settings and enable more advanced suggestions in your personal settings.
- By default, every category is set to the basic level, and we recommend to start like this.

- To understand what that means, let's take a look at the category vision. On a basic level the phrase "the one eyed among the blind" would be highlighted. When the advanced biases are switched on, even subtle unconscious biases like the phrase "See you later" will be highlighted.
- You can always click on the i-icon to see an example for the basic and for the advanced level, both in German and in English.
- We recommend choosing the Basic level at the beginning.
You are ready to go and customize Witty! 🚀